First impressions matter especially on LinkedIn, where your profile picture often speaks before you do. Think of it as your digital handshake, your first hello. A polished, well-sized LinkedIn profile picture can set the tone for how potential employers, clients, or collaborators perceive you. No pressure, right?
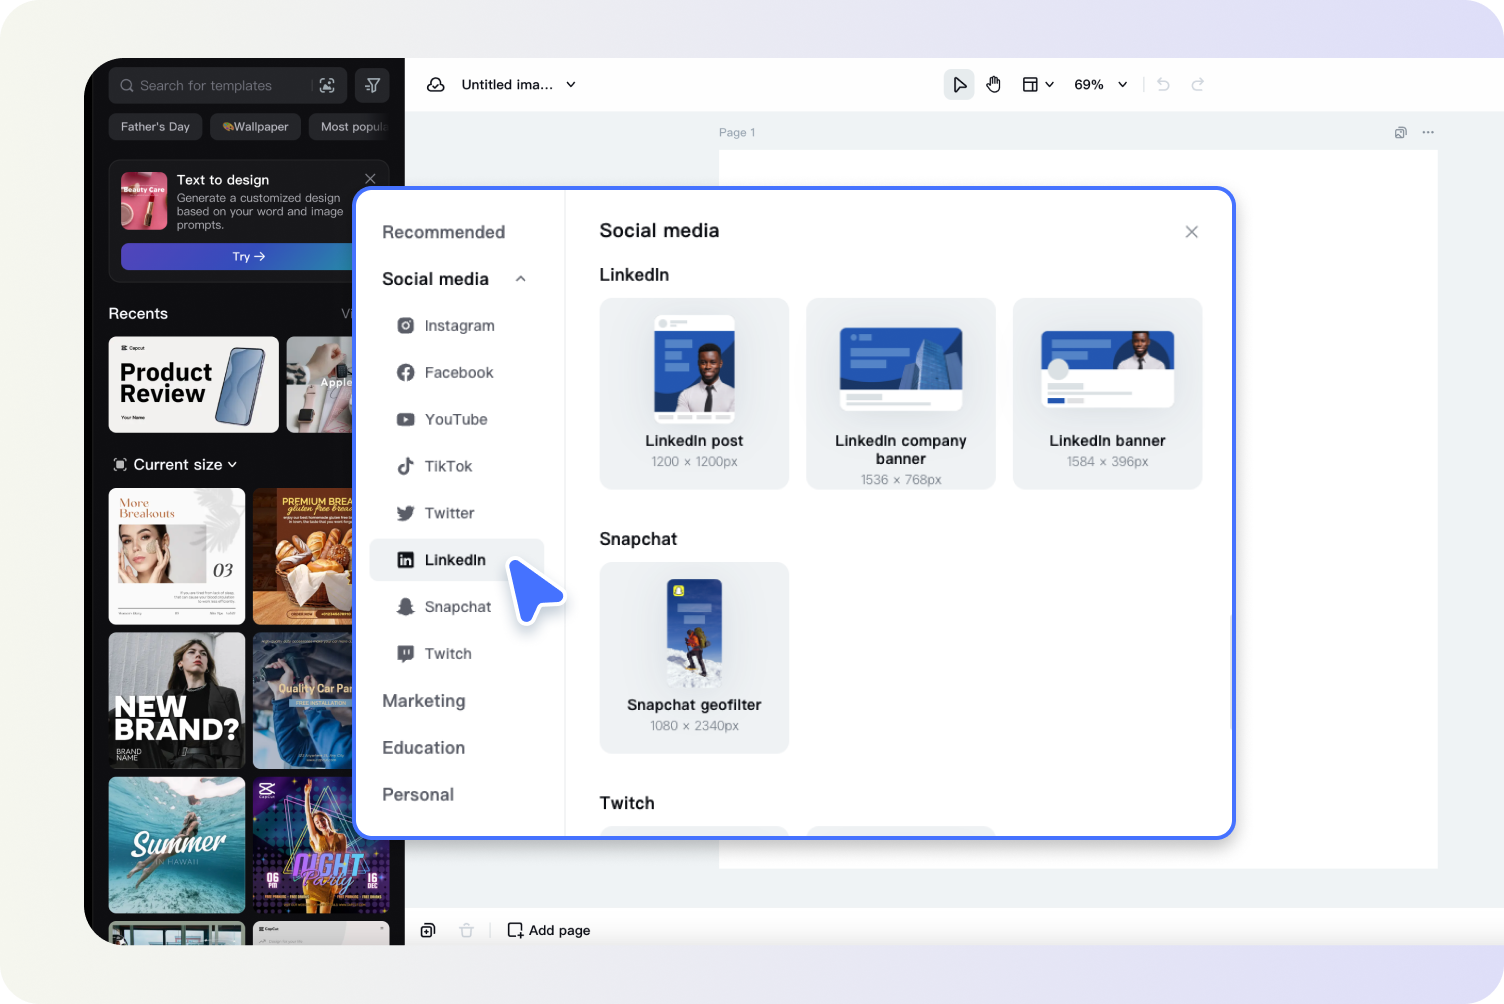
Getting your profile picture just right isn’t rocket science, but it does require some attention to detail. You can also check tools like CapCut Commerce Pro to adjust your image to the perfect dimensions effortlessly. Not only will your photo fit LinkedIn’s requirements, but it will also maintain its sharpness and professional appeal.
However, with the following five essential tips, you’ll master the art of nailing your LinkedIn profile picture size and style like a pro.
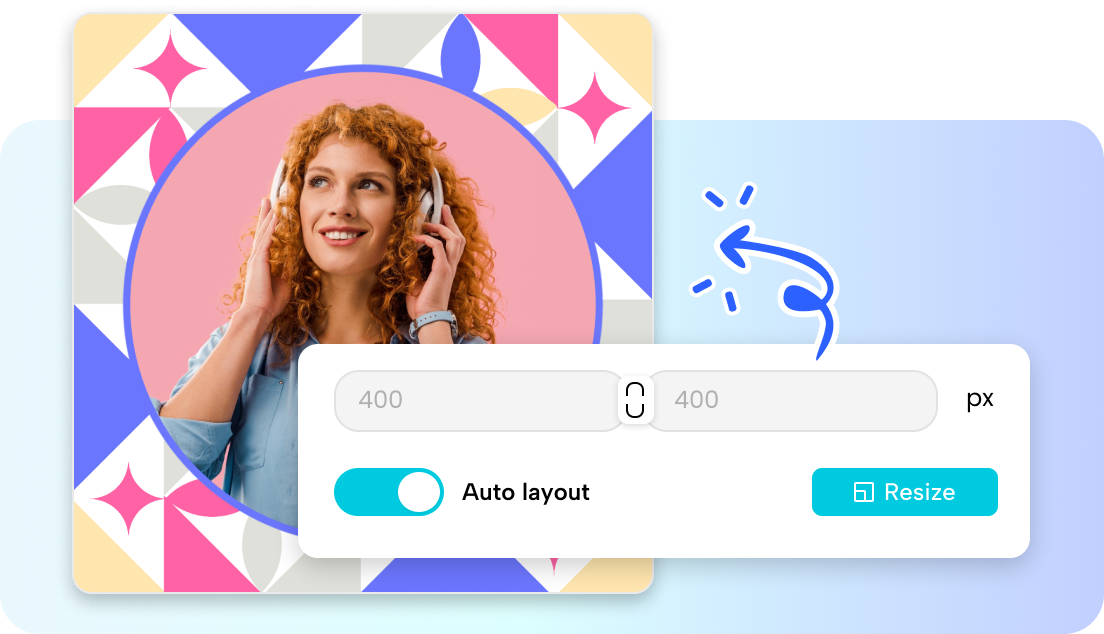
Tip 1: Know the Ideal Dimensions
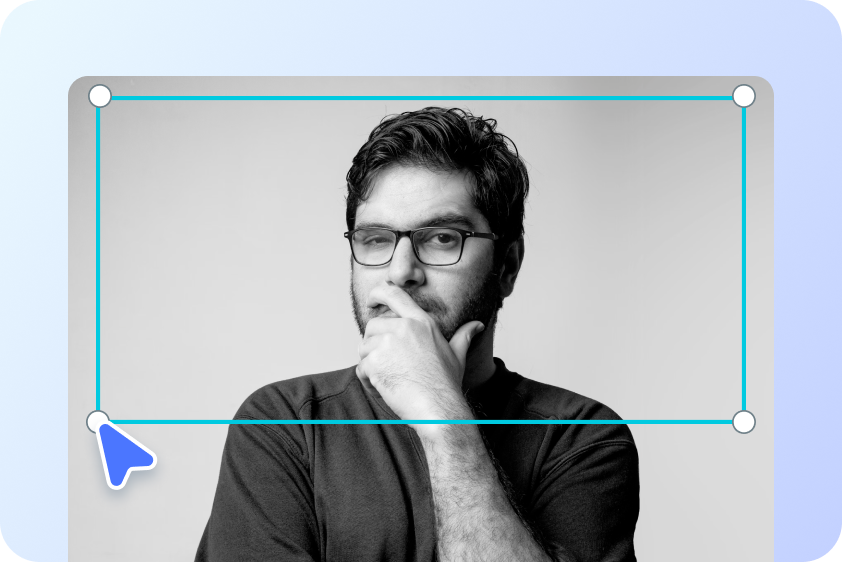
Let’s kick things off with the basics. The perfect LinkedIn profile picture size should be 400×400 pixels. You might be wondering, but why this size? Well, it’s just big enough to ensure clarity but small enough to load quickly across devices.
Imagine showing up to an important meeting wearing an ill-fitted suit—it doesn’t exactly scream “I’m ready for business.” Similarly, uploading an improperly sized image can lead to cropping disasters or pixelation. No one wants to be the blurry blob in someone’s connection request list.
Tip 2: Choose the Right File Format
Now that you’ve nailed the size, let’s talk about file formats. LinkedIn supports JPEG and PNG, and each has its strengths:
- JPEG is great for compressing large photos without losing too much quality.
- PNG offers sharper details and handles transparent backgrounds like a champ.
Think of file formats as wardrobe options. JPEG is like a classic blazer—versatile and reliable. PNG, on the other hand, is your tailored suit—polished and sleek but not always necessary for every occasion.
If your photo isn’t already in one of these formats, don’t panic. Most editing tools and photo apps let you convert images with just a few clicks. Choose the format that best preserves your image’s quality and suits your needs.
Tip 3: Keep It Simple and Professional
Here’s a mantra to live by: your LinkedIn profile isn’t your Instagram. While it’s tempting to show off your creative side, this isn’t the place for busy backgrounds, funky filters, or novelty props. Simplicity is key.
What works:
- Neutral backgrounds like white, gray, or light-colored walls.
- Subtle outdoor settings, like a blurred park or cityscape.
What to avoid:
- Distracting backdrops like cluttered desks or neon lights.
- Casual outfits that scream “weekend brunch” instead of “ready for business.”
A clean, professional look not only helps your profile stand out but also communicates that you’re serious about your career. Remember, you’re not just uploading a photo; you’re making a statement about your brand.
Tip 4: Make Sure It’s High Quality
Blurry selfies and low-res headshots? Hard pass. If your image quality is subpar, it undermines all the effort you’ve put into crafting your LinkedIn presence. A high-resolution image ensures that your face looks clear and approachable, whether someone’s viewing your profile on a desktop or a smartphone.
How to check image quality:
- Zoom in on your photo before uploading it. If it gets pixelated quickly, it’s too low-res.
- Aim for an image resolution of at least 1000×1000 pixels before resizing it to LinkedIn’s 400×400 requirement.
Think of this step as choosing the freshest ingredients for a gourmet meal. High-quality inputs result in stellar outputs. If you’re unsure where to start, tools like CapCut Commerce Pro can help you optimize your image for clarity and precision.
Tip 5: Test It Out!
You’ve resized your image, picked the perfect file format, and ensured it’s high quality—now what? It’s time to test it out.
Upload your photo to LinkedIn and use the platform’s preview feature to see how it appears in different views. Check how it looks on desktop and mobile. Is it centered? Are your features clear? Is there enough contrast to make you stand out?
Pro tip:
Ask for feedback from a trusted friend or colleague. Sometimes, a fresh pair of eyes can catch details you might have missed. They can offer valuable insights, spot errors, or suggest improvements that you might overlook when you’re too close to the work. Getting an outside perspective ensures your content or design reaches its full potential and resonates with others. Plus, it’s always helpful to have someone else confirm your instincts or challenge your ideas, leading to a stronger final product.
For an added challenge, try experimenting with different photos. Maybe that candid shot you took at last year’s conference actually captures your energy better than a studio headshot. Play around and find the picture that gives you the ultimate LinkedIn glow-up.
Wrapping It Up
Crafting the perfect LinkedIn profile picture doesn’t have to be stressful. By following these five essential tips: knowing the ideal dimensions, choosing the right file format, keeping it professional, ensuring high quality, and testing it out—you’ll be well on your way to creating a photo that stands out for all the right reasons.
Remember, your profile picture is more than just a photo; it’s a reflection of your professional brand. Take the time to get it right, and it’ll pay off in stronger connections and better opportunities.
So, what are you waiting for? Go ahead, update your LinkedIn profile picture today using these tips, and watch the compliments and connections roll in!