
Creating your own face serum at home can provide many benefits, from saving money to ensuring the purity of ingredients. Homemade face serums can be tailored to your exact needs and can be customised to a variety of skin types and conditions. In this article, we will explore the process of making your own face serum, from choosing the right ingredients, to the tools you need, and the techniques you will use.
How to make a face serum
The use of a face serum helps to replenish skin with powerful ingredients such as antioxidant vitamins, fatty acids and natural oils. Generally added to your skincare regimen after cleansing and toning, serums support the healing of dehydrated and damaged skin. Regular use will help to even tone, brighten and eventually maintain a plump complexion. Other effects can include minimising wrinkles, scars, acne residue and age spots.
The potency of face serums provide an intensive boost for younger looking skin which most people cannot obtain from creams alone. When applied directly onto the face it grants maximum absorption into the layers that are normally not accessible from other facial products. With added active ingredients it is an ideal solution for those with problem areas looking for fast results that last long term.
Ingredients
Making a face serum at home is a great way to save money and create a DIY product tailored to the needs of your skin. In order to make a simple, effective face serum, you will need several key ingredients that you may already have in your pantry or cupboard. Here, we will discuss which ingredients you should use and how to get them.
Carrier oils
Carrier oils are the base for any face serum as they help deliver active ingredients like essential oils and other skin-enhancing nutrients deeper into the pores. When selecting a carrier oil, it is important to consider factors like skin type, shelf life and hydration needs.
The most popular carrier oils often have a combination of properties like hydration, protective barrier function, moisturising effects, and anti-inflammatory benefits. Here are some examples of commonly used carrier oils for face serums:
-Olive oil: this oil is packed with antioxidants as well as free fatty acids that keep skin soft and supple. Its heavy texture makes it perfect for dry skin types.
-Jojoba oil: this lightweight oil helps retain moisture while preventing TEWL or Trans Epidermal Water Loss due to its high content of Vitamin E and B Complex vitamins. Its structure resembles sebum’s composition so it is able to help balance excess amounts produced by oily skins
-Rosehip seed oil: not only has this oil been used in cooking but also its high content of Carotenoids makes it a powerful antioxidant that can reduce signs of ageing while restoring the elasticity of the complexion
-Evening primrose oil: mostly known for its anti-inflammatory properties, this type of carrier oil helps protect from environmental aggressors while controlling breakouts caused by blemishes
-Grapeseed oil contains linoleic acid that can penetrate easily into the outer layer which makes it a great option for oily or combination skins since it helps regulate sebaceous glands without blocking them
Essential oils
Essential oils are a key ingredient in homemade facial serums. When choosing essential oils, be sure to select those that are specifically designed for topical use, as ingesting some can be dangerous. In addition, it is important to check for allergies before use and even consider testing a small patch of skin beforehand. Some popular essential oils for skin care include:
• Chamomile: Used to help with evening out skin tone and protect from free radical damage
• Frankincense: An astringent which helps reduce wrinkles by tightening the pores of the skin
• Lavender: A natural antiseptic which also helps to reduce inflammation
• Tea Tree: An antibacterial oil that can help reduce bacteria on the skin and help combat acne breakouts
• Geranium: Used to regulate oil production, balance sebum levels and protect against cell damage
• Jojoba Oil: Known for its antioxidant and anti-inflammatory properties; it helps keep sebum levels balanced while nourishing and moisturising dry or damaged skin
• Ylang Ylang : Rich in phytonutrients, this oil can help soothe irritation while providing antioxidants which promote radiant looking skin.
Preparation
Making a homemade face serum is an easy process that anyone can do. You just need to know what ingredients to use, and how to combine them to get the desired result. The great thing about making your own face serum is that you can make it with natural, safe ingredients that can nourish and hydrate your skin while giving it a healthy, glowing look. In this article, we will discuss the steps that you need to take to prepare your own face serum.
Tools needed
When preparing a homemade face serum, there are some key items that are needed in order to create the perfect blend of ingredients:
-Glass bottles (preferably dark coloured)
-Small glass container (for mixing)
-Funnel
-Medium bowl
-Wooden spoon (for stirring)
-Coconut oil/jojoba oil/argan oil/apricot kernel oil
-Essential oils such as lavender, rosemary, clary sage, carrot seed, geranium etc.
-Vitamin E capsules
-A beaker or graduated cylinder for measuring out liquid ingredients.
Additionally you may wish to use a variety of herbs and plant oils to further enhance the effects of the serum. These items can be found in natural food stores or online retailers. Once you have assembled all of your necessary items, you will be ready to start making your own custom face serum.
Step-by-step instructions
Making your own face serum is an excellent way to save money while taking advantage of all the natural ingredients you might have lying around. It’s also a great way to experiment with different recipes and make something completely customised to suit your skin type. With a few basic measurements, you can easily create your own high-quality serum in no time! Here are the steps for creating a simple yet effective face serum:
1. Gather the essential ingredients – To make a face serum, you will need carrier oils (such as jojoba oil, sweet almond oil or wheat germ oil) and essential oils (such as lavender, geranium or rosemary). You will also need distilled water and rosewater, witch hazel and vegetable glycerin. Make sure all of the ingredients are organic and of high quality.
2. Measure out each ingredient – Each recipe will contain different measurements of each ingredient depending on what type of skin you have and what benefits you’re looking for from your serum. Generally speaking, most recipes involve between 6-9 drops of essential oils per 30ml of carrier oils, 1 tsp of vegetable glycerin and 2 tsp of distilled water or rosewater per 30mls.
3. Combine the ingredients – Put all the ingredients into an airtight container and shake well until they are thoroughly combined. Make sure not to use any metal containers as essential oils can react negatively with certain metals.
4. Store in a cool place – The mixture should be stored in a cool, dark place to preserve its freshness for up to 6 months after opening. You can use it up to twice daily or add it into your favourite moisturiser for extra benefits!
By following these simple steps, you will be able to create an effective facial serum that is tailored specifically towards addressing whatever skin concerns may apply to you personally—whether it be acne-prone skin or wrinkle prevention -all for just pennies on dollar compared to expensive bottled products!
Application
Making your own face serum at home can be a simple and cost-effective way to nourish your skin. Depending on the ingredients chosen, you can adjust the serum to suit your skin type and personal preferences. Here, we will talk about the application process of the homemade face serum and what you need to consider.
How to apply the serum
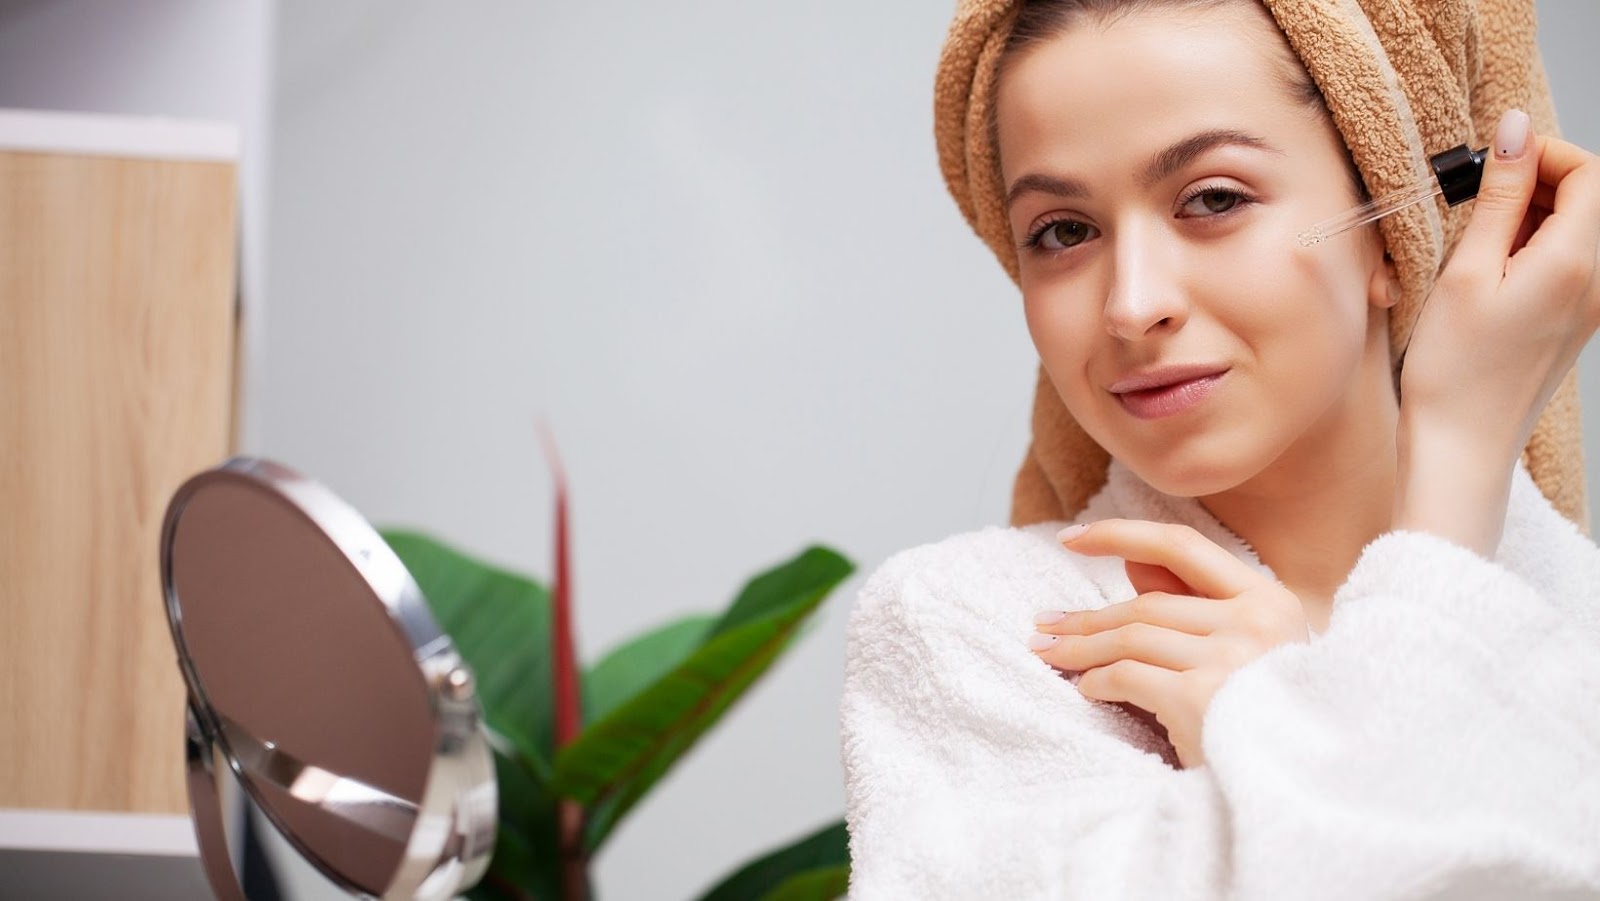
For best results, apply your homemade face serum twice a day; once in the morning and once at night. Whether you’re using a spray mister or dropper, start with a small amount of product—a little goes a long way.
Begin by applying several drops of serum to the tips of your fingertips, then gently pressing them onto your cleansed face. Allow the serum to completely absorb before applying makeup or sunscreen.
To apply any leftover serum, massage it into your neck or any other areas where skin may need extra moisture and nourishment. Be sure not to tug at or pull on delicate facial skin — press the serum into skin with light pressure and let it do its job! To make sure you get the most out of your facial serum experience, be sure to use warm water when cleansing and pat dry instead of rubbing.
Frequency of application
Using a homemade face serum can be highly beneficial for your skin, but it is important to understand how often you should use it for the best results. Generally, it is advised that you apply it once or twice daily — either in the morning and at night or just once each day. When using a natural product that may contain essential oils and other powerful ingredients, it is always best to start slowly.
It can take a few weeks before you start to notice any changes in your skin. Reactions may include dryness, itchiness and redness due to the extra hydration that the serum provides. If this occurs, reduce the frequency of application until your skin adjusts accordingly.
When deciding how frequently to use your homemade face serum, ensure that you consider your skin type and needs as everyone’s skin is unique. If you have dry arm patches, consider applying the serum more often than what was stated above — up to three times per day — as this will allow you to intensely moisturise the spots that need it most. Additionally, if you have oily skin or tend to break out regularly, consider reducing application rate to once or twice weekly depending on how severe your breakouts are.
Conclusion
Making a homemade face serum is a great way to create a natural and gentle skincare product that you can customise to your skin’s needs. Not only does this save money, it also allows you to control exactly what goes into the serum, ensuring that you stay away from potentially harmful chemicals commonly found in store-bought beauty products. In this article we have discussed the basics of making your own face serum, as well as the benefits it can have on your skin.
Benefits of using a homemade face serum
Using a face serum can have a plethora of benefits, but is often thought to be expensive or difficult to assemble at home. However, making a face serum can make many skin concerns seem more manageable and you may find it quite affordable.
The primary benefit of using a homemade face serum is cost savings – store-bought serums can be expensive, so creating something with the ingredients that you trust for your own skin can help prevent overspending. Additionally, DIY serums are customizable to help target specific skin concerns such as acne, wrinkles, or dark spots – you control which oils and extracts go into the serum so you know exactly what it will do for your skin’s health.
When creating your own face serum, try to select natural ingredients without added fragrances that may irritate sensitive skin. Keep in mind that serums are not moisturisers (or lotions) and the purpose of using them is to add an extra layer of hydration to your routine which will improve the overall health and appearance of your complexion. Standard recipes vary in consistency and ingredient combination so experiment until you find one that works best for your needs!